Enrolment and Documents to be Submitted
After Accepting Your Study Place, you must apply for enrolment.
1. Log in to KLIPS 2.0 with the user data of your basic account.
2. On your personal Home Screen, click on the Applications application to open it.
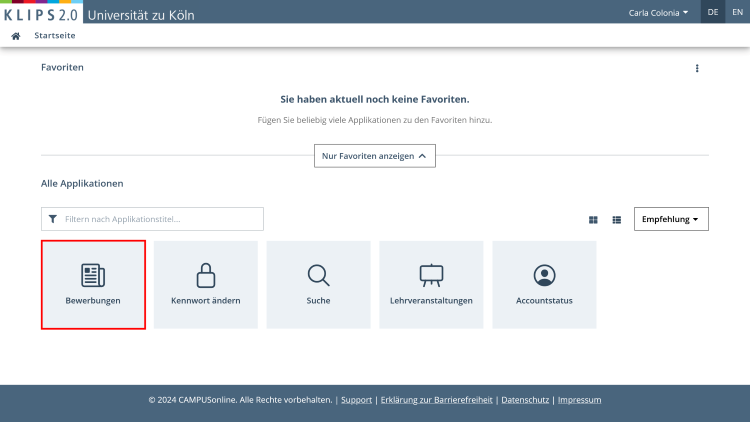
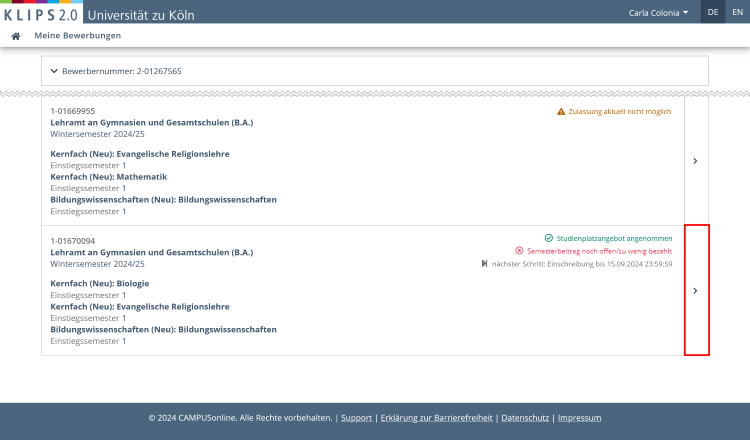
3. You have opened the My Applications view. Your submitted applications will be listed in an overview.
The status of the application for which you have accepted the study place offer is Study Place Offer Accepted. To open the detailed view of this application, click the Arrow Button on the right in the corresponding list entry.
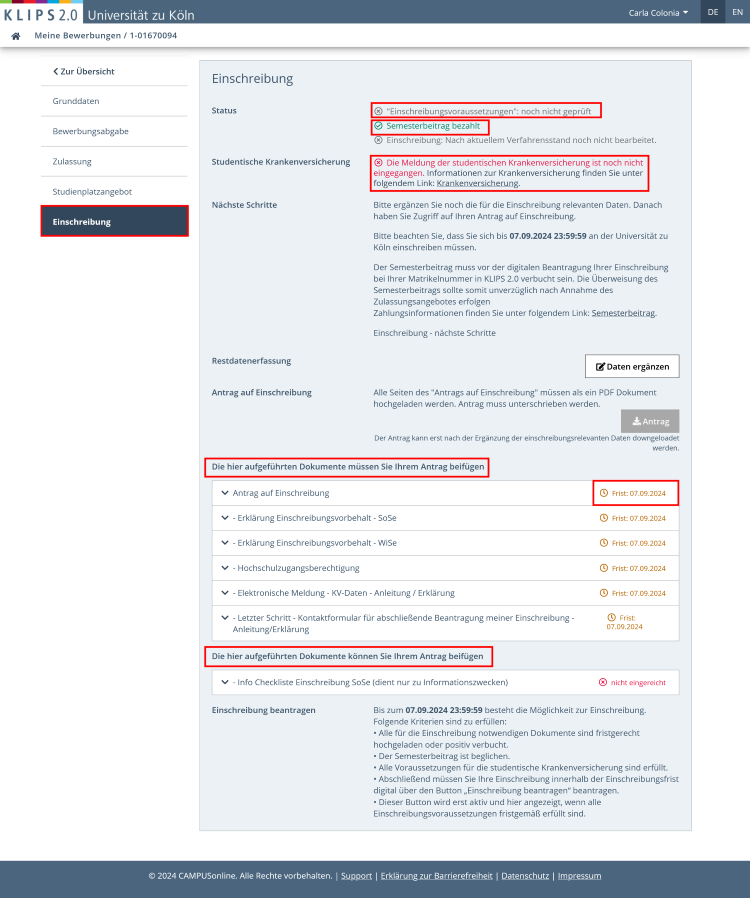
4. Click on Enrolment in the navigation menu of the detailed view or scroll to the relevant section.
All the next steps and documents required to apply for enrolment are listed here. Please note the distinction between documents that must be included in your application for enrolment and those that may be included.
Please note: You must arrange for your insurance data to be transmitted by your health insurance provider and your semester fee to be paid independently, outside of KLIPS 2.0. The data is processed in KLIPS 2.0 upon receipt and the respective status is updated accordingly. Please note that this may take a few days. It is therefore best to do both immediately after accepting the study place.
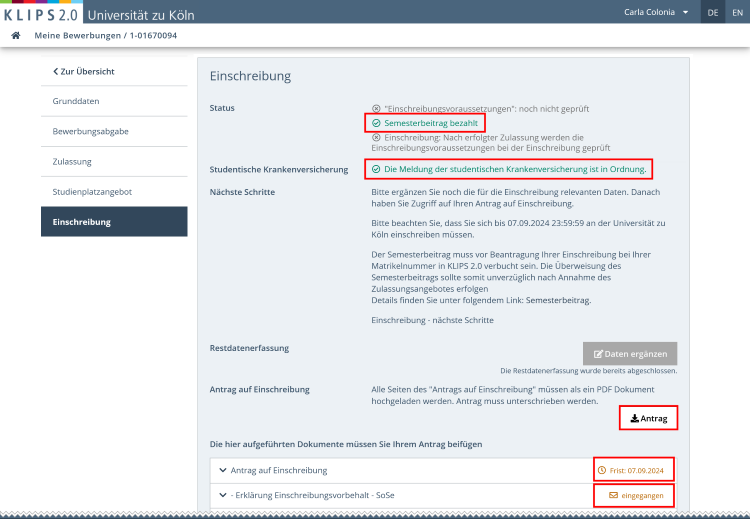
The status of the individual steps/documents are color-coded:
Green = ok (= complete or done)
Orange = not yet ok (= not yet complete or done)
Red = not ok (= there is a problem)
Gray = cannot be checked yet or does not apply
In the example below, for example, the paid semester fee has already been processed in the system (green), but the health insurance has not yet provided the required data electronically (red). Also, all documents to be uploaded are still missing (orange).
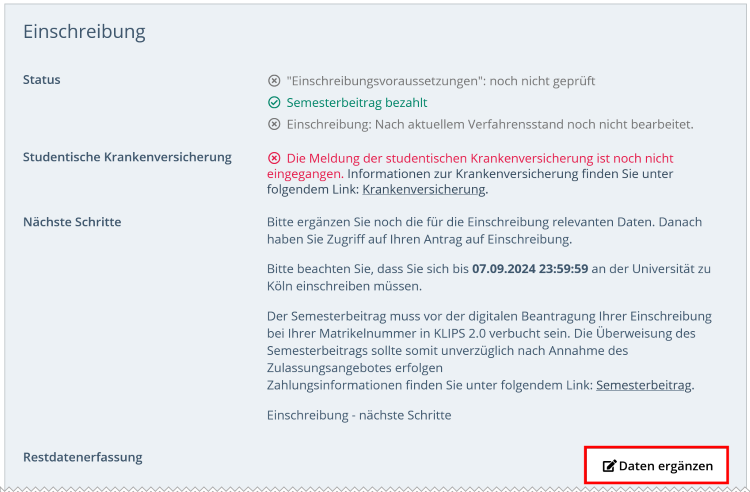
5. Start in the Residual Data Entry section to enter your health insurance information.
Please note: This does not replace the transmission of data by your health insurance company!
To do this, click on the Add Data button.
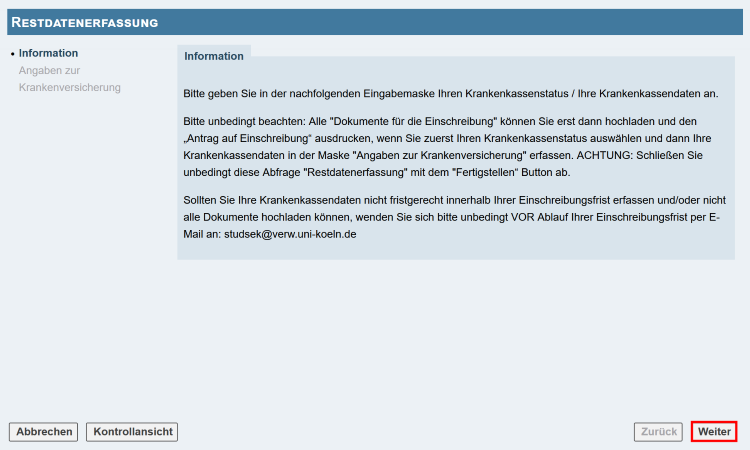
6. The wizard for the Residual Data Entry opens. Read the information and then click on the Continue button.
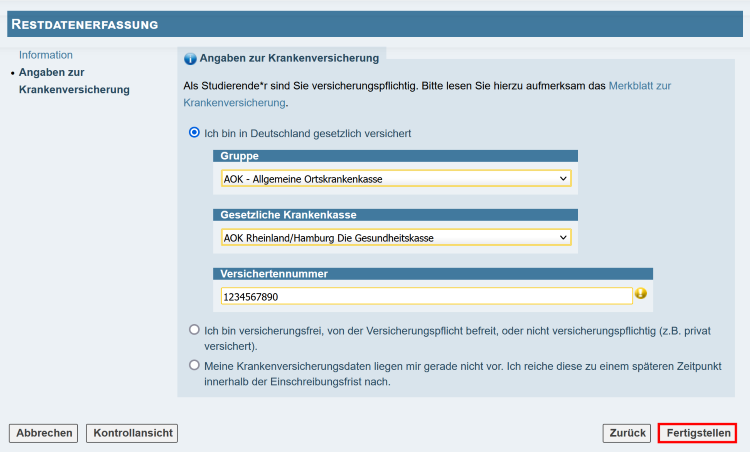
7. Enter the required health insurance information and click Finish.
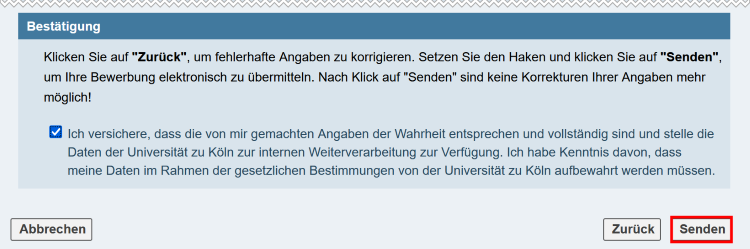
8. The summary for the residual data entry is now displayed. Confirm that your data is correct in the lower area and click Send.
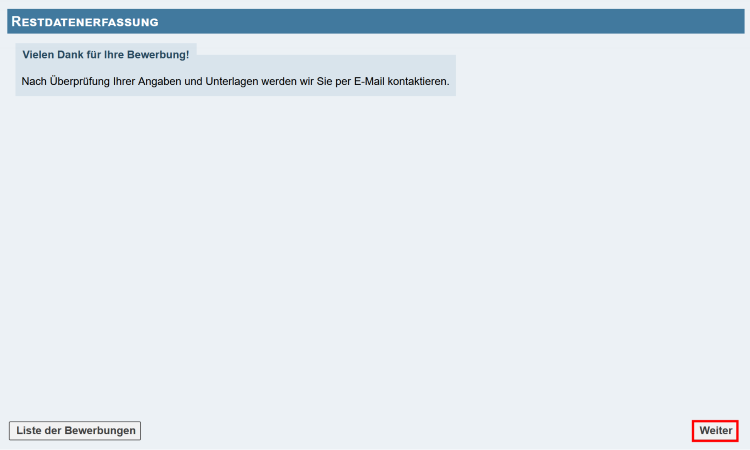
9. Next, click Continue to return to the detailed view of your application.
10. You can now proceed to upload the required documents. The documents to be submitted depend on the type of application.
Please note: Do not download the application for enrolment before all documents are uploaded. Only then does it contain all the required information. Re-upload the signed document only when it contains all the relevant data.
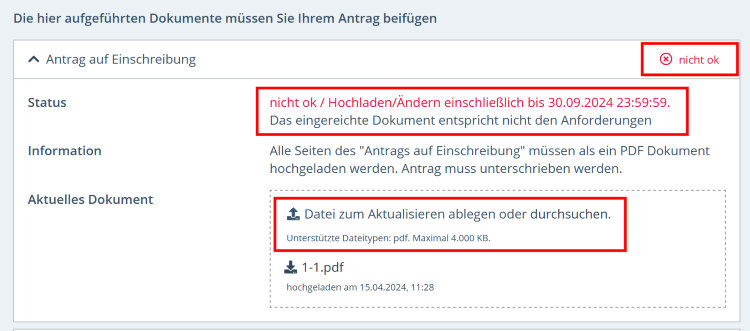
To do this, open the details of the individual required documents by clicking on the Arrow Button on the left in the relevant section. Read the information and instructions provided for the individual documents.
11. Upload the documents: This can be done easily by dragging and dropping the document or by clicking the corresponding button and searching your document directory. The status changes from the deadline for uploading to Received.
Please note: In some cases it is necessary to first download the required documents as a template and then upload them again, filled in and signed, as a scanned document. Therefore, pay close attention to the instructions in the detailed view as well as the instructions in the document provided.
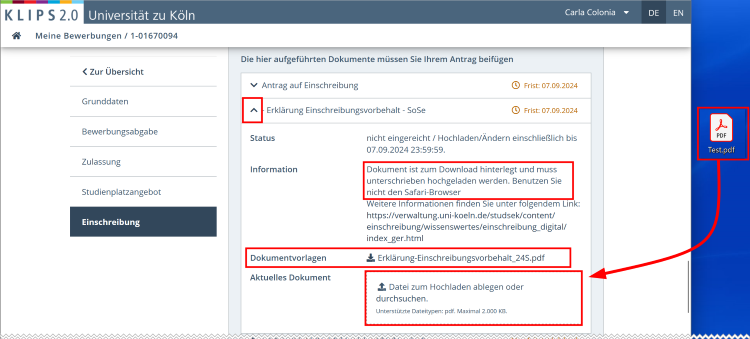
Please note: Mind the individual restrictions on file type (.pdf) and size (varying).
12. When the payment of the social fee and the transmission of the insurance data from the health insurance provider have been successfully processed in KLIPS 2.0 (status display green) and you have uploaded all the necessary documents, you can download the application for enrollment.
13: The application for enrolment opens as a PDF file. Double-check all the information included in the application and then sign it.
14. Now upload the application as a scanned document. Once you have successfully uploaded your application for enrolment, a notification will appear that you can now apply for enrolment. You have two options:
- Click the Ennrolment button to apply for enrolment immediately.
- Click the Cancel button to apply for enrolment later. The notification will then be displayed again the next time you open your application.

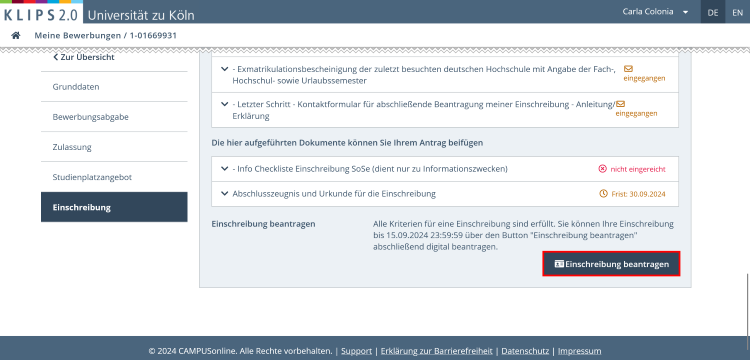
15. If you click on the Cancel button, the Enrolment button will also appear at the bottom of the Enrolment section, which you can also use to apply for enrolment.
16. After clicking the Enrolment button, the message that enrolment has been applied for appears in the same area instead of the button.
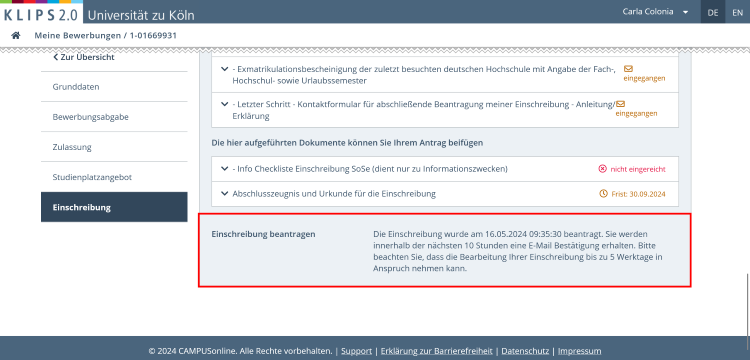
17. Within the next 10 hours you will receive an email stating that you have applied for enrolment. The Student Application and Registration Office will also receive an email informing them that your application for enrolment is ready for review.
18. If the Student Application and Registration Office rejects one of your documents, you will receive an email and the status in the detailed view of your application will change to not OK for the document in question. You can re-upload the corrected document within the enrolment deadlines as described above. You will automatically replace the incorrect document. Deletion is not necessary.
19. Re-apply for your enrolment. The rejected documents will be reviewed again.
20. When the review of your application has been successfully completed, you will receive an email to the email address you provided when applying. In the same email you will receive information on how to activate your student account. The status display in the overview of your applications changes to Enrolled.

Please note: The highest status displayed in the overview of your applications before enrolment has taken place is currently “Study Place Offer Accepted / Social Fees Paid”. The fact that enrolment has been applied for can only be seen in the detailed view and the confirmation email received. Therefore, always check your email or the detailed view of your application for updates.