Adding Administrative Employees to a Course
As a lecturer, you can assign so-called Administrative Employees to your courses and thus grant them editing and/or reading rights (so-called “object rights”) for the selected courses. This can be useful, for example, if employees who are not entered as lecturers or assistants of a course need administrative rights for their tasks.
Please note: The rights for the Administrative Employee role are preset and cannot be edited by you. You always assign an existing set of rights. This set of rights is faculty-specific according to the specifications of the faculty offering the course. Check with your faculty to find out which rights are assigned to the Administrative Employee role.
To assign administrative employees to a course, proceed as follows:
1. Log in to KLIPS 2.0 with your user data. Your Personal Business Card opens.
2. Click on the Courses application.
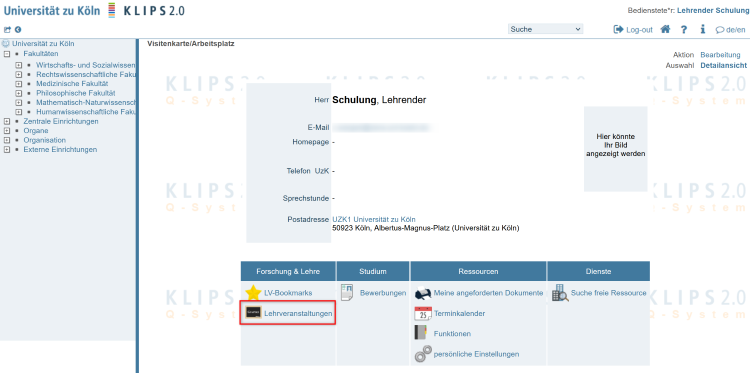
3. Your Courses Offered will be opened. Click on the desired course in the Title column.
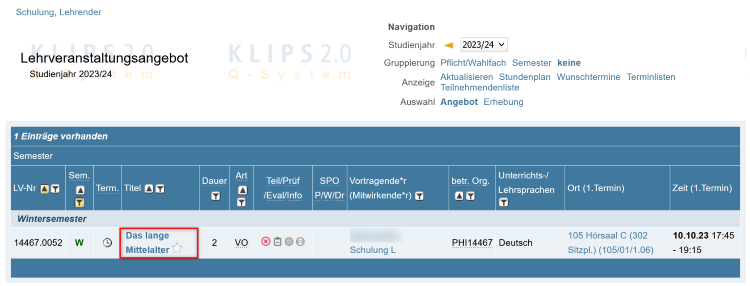
4. The Course - Detailed View of the selected course opens in a new window. To add administrative employees to the course, click on the Pencil Icon in the Administrative Employees row.
Please note: If you are not authorised to add administrative employees, the pencil symbol will not appear here. Please inquire about your rights from the responsible KLIPS representative in your department.
5. The Assign Administrative Employees page opens.
The Assigned Administrative Employees section shows the currently assigned administrative employees.
In the Assign Further Persons section, you can add additional people as administrative employees. You can either use the Filter Menu or select directly from the List of Persons below.
Please note: The organisation to which the course is assigned is always initially selected in the Organisation row in the filter menu. The list of persons below only shows the people who are assigned to the selected organisation.
6. If you use the filter menu, enter the last name of the person you are looking for in the Last Name search box. Check whether the correct organisation is selected.
Please note: The filter works dynamically, i.e. you do not have to enter the entire last name: “M” finds all persons whose last name begins with “M”, each additional letter excludes further results.
7. If the correct organisation is not selected, open the drop-down menu in the Organisation row and select the correct organisation. If you are not sure which organisation the person you are looking for is assigned to, select the All option. Pressing the letter “A” key on your keyboard while the menu is open will take you directly to the desired option.
8. Click the Search button.
9. Select the person you are looking for from the updated list by checking the Check Box in front of the person's name.
10. Now click on the Assign button below the list of persons.

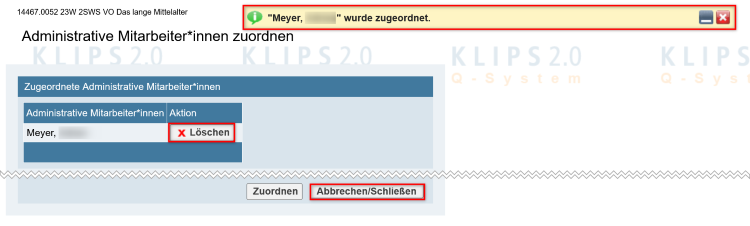
11. A system notification about the successful assignment appears at the top of the page.
In the Assigned Administrative Employees section, the assigned person is now displayed in the table.
12. If you want to delete the person again, click on the Delete button to the right of the person's name.
13. Click the Cancel/Close button to return to the Courses Offered page. To assign administrative employees to additional courses, simply repeat the steps described above.
14. If you want to delete assigned administrative employees at a later date, open the Course - Detailed View page again (see step 3), click on the Pencil Icon in the Administrative Employees row (see step 4) and then click the Delete button as described in step 12.